目的
使博客界面更加美观,功能更加丰富以及更多个性化设置。
参考
步骤
在右上角或左上角实现Fork me on github
效果图如下图所示

具体实现方法
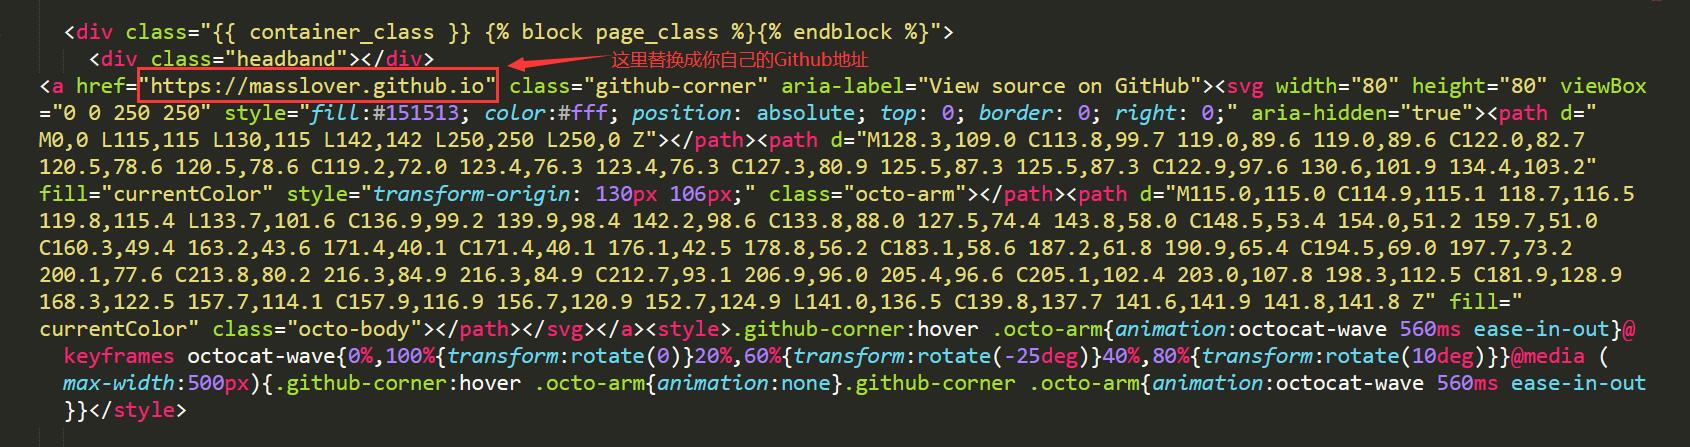
在GitHub Corners选择一款自己喜欢的挂饰,拷贝方框内的代码

将刚刚复制的挂饰代码,添加到Blog/Hexo/themes/next/layout/_layout.swig文件中,添加位置如下图所示(放在<div class="headband"></div>下方):
添加RSS
实现效果图
具体实现方法
切换到Blog文件夹(hexo init)下,并安装插件
1 | cd [Blog] |
安装成功后,编辑Blog/_config.yml文件,在文件末尾添加
1 | # Extensions |
配置主题_config.yml文件,command+f搜索rss,在后面加上/atom.xml
1 | # Set rss to false to disable feed link. |

修改文章内链接文本样式
实现效果图

具体实现方法
修改文件Blog/themes/next/source/css/_common/components/post/post.styl,在末尾加上如下css样式:
1 | // 文章内链接文本样式 |
修改底部标签样式
实现效果图
具体实现方法
修改Blog/Hexo/themes/next/layout/_macro/post.swig中文件,command+f搜索
rel="tag">#,将#替换成<i class="fa fa-tag"></i>。输入以下命令,查看效果:
1 | hexo clean |
在文章末尾添加“文章结束”标记
实现效果图
具体实现方法
在路径Blog/Hexo/themes/next/layout/_macro文件夹中新建passage-end-tag.swig文件,并填写如下代码:
1 | <div> |
打开Blog/themes/next/layout/_macro/post.swig,在post-body之后,post-footer之前(post-footer之前两个DIV),添加以下代码:
1 | <div> |
然后打开主题配置_config.yml文件,在末尾添加:
1 | # 文章末尾添加“本文结束”标记 |
修改代码块自定义样式
具体实现方法
打开Blog/Hexo/themes/next/source/css/_custom/custom.styl,添加以下代码:
1 | // Custom styles. |
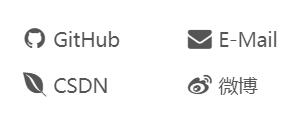
侧边栏社交小图标设置
实现效果图
图标可以去Font Awesome Icon网站,找到后复制名字到相应的位置即可
具体实现方法
打开主题配置_config.yml文件,command+f搜索Social,将你的社交账号前面的#号去掉。
1 | #social: |
主页文章添加阴影效果
实现效果图
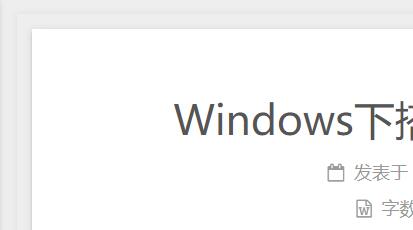
具体实现方法
打开Blog/Hexo/themes/next/source/css/_custom/custom.styl,向里面添加:
1 | // 主页文章添加阴影效果 |
在网站底部添加访问量
实现效果图
具体实现方法
6.X后继承了busuanzi模块统计,只需要打开主题配置_config.yml文件编辑如下即可:
1 | busuanzi_count: |
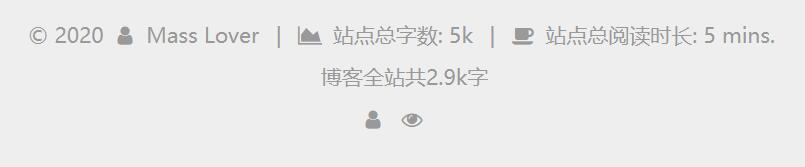
网站底部数字统计
具体实现方法
切换到根目录下,然后运行
1 | $ npm install hexo-wordcount --save |
运行完后在Blog/Hexo/themes/next/layout/_partials/footer.swig文件尾部添加:
1 | <div class="theme-info"> |
设置网站图标Favion
实现效果图

具体实现方法
在图标网站找一张图标(大:32x32 小:16x16)大小可自定义,图标网站:easyicon或阿里巴巴矢量图标库。将下载下来的大图和小图放在Blog/Hexo/themes/next/source/images中,将默认的两张图片替换掉。修改主题配置_config.yml文件,如果自定义了图片名字,需要做如下修改:
1 | favicon: |
实现文章统计功能
具体实现方法
在根目录下安装hexo-wordcount,运行:
1 | $ npm install hexo-wordcount --save |
然后在主题配置_config.yml文件中,配置如下:
1 | symbols_count_time: |
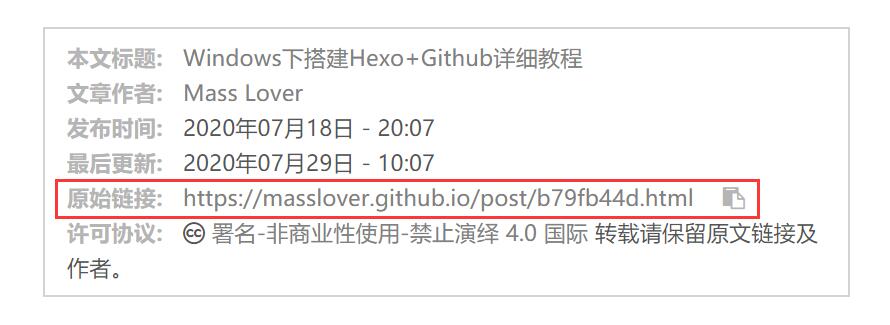
在文章底部增加版权信息
实现效果图
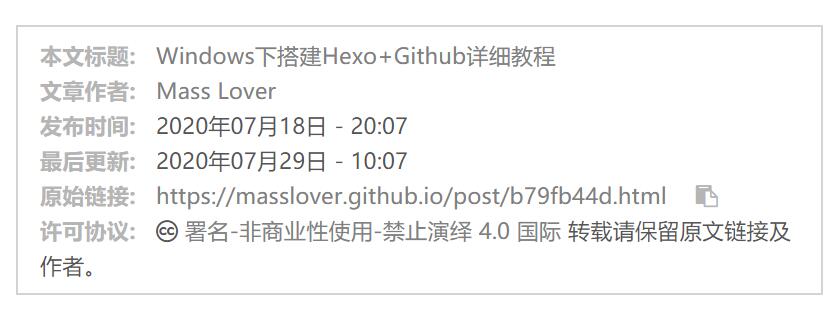
具体实现方法
在目录Blog/Hexo/themes/next/layout/_macro下,添加文件my-copyright.swig,然后添加如下代码:
1 | {% if page.copyright %} |
在目录Blog/Hexo/themes/next/source/css/_common/components/post下添加文件my-post-copyright.styl,然后添加如下代码:
1 | .my_post_copyright { |
修改Blog/Hexo/thems/next/layout/_macro/post.swig,在代码
1 | <div> |
之前添加如下代码:
1 | <div> |
修改Blog/Hexo/thems/next/source/css/_common/components/post/post.styl文件,在最后一行增加代码:
1 | @import "my-post-copyright" |
配置Blog/_config.yml文件为:
1 | # URL |
保存即可。
点击爆炸效果
实现效果图
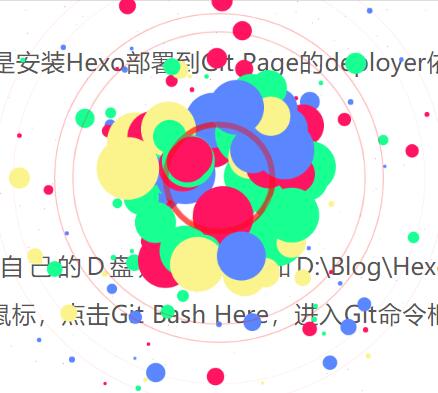
具体实现方法
在Blog/Hexo/themes/next/source/js/src里面,新建一个fireworks.js文件,添加如下代码:
1 | "use strict";function updateCoords(e){pointerX=(e.clientX||e.touches[0].clientX)-canvasEl.getBoundingClientRect().left,pointerY=e.clientY||e.touches[0].clientY-canvasEl.getBoundingClientRect().top}function setParticuleDirection(e){var t=anime.random(0,360)*Math.PI/180,a=anime.random(50,180),n=[-1,1][anime.random(0,1)]*a;return{x:e.x+n*Math.cos(t),y:e.y+n*Math.sin(t)}}function createParticule(e,t){var a={};return a.x=e,a.y=t,a.color=colors[anime.random(0,colors.length-1)],a.radius=anime.random(16,32),a.endPos=setParticuleDirection(a),a.draw=function(){ctx.beginPath(),ctx.arc(a.x,a.y,a.radius,0,2*Math.PI,!0),ctx.fillStyle=a.color,ctx.fill()},a}function createCircle(e,t){var a={};return a.x=e,a.y=t,a.color="#F00",a.radius=0.1,a.alpha=0.5,a.lineWidth=6,a.draw=function(){ctx.globalAlpha=a.alpha,ctx.beginPath(),ctx.arc(a.x,a.y,a.radius,0,2*Math.PI,!0),ctx.lineWidth=a.lineWidth,ctx.strokeStyle=a.color,ctx.stroke(),ctx.globalAlpha=1},a}function renderParticule(e){for(var t=0;t<e.animatables.length;t++){e.animatables[t].target.draw()}}function animateParticules(e,t){for(var a=createCircle(e,t),n=[],i=0;i<numberOfParticules;i++){n.push(createParticule(e,t))}anime.timeline().add({targets:n,x:function(e){return e.endPos.x},y:function(e){return e.endPos.y},radius:0.1,duration:anime.random(1200,1800),easing:"easeOutExpo",update:renderParticule}).add({targets:a,radius:anime.random(80,160),lineWidth:0,alpha:{value:0,easing:"linear",duration:anime.random(600,800)},duration:anime.random(1200,1800),easing:"easeOutExpo",update:renderParticule,offset:0})}function debounce(e,t){var a;return function(){var n=this,i=arguments;clearTimeout(a),a=setTimeout(function(){e.apply(n,i)},t)}}var canvasEl=document.querySelector(".fireworks");if(canvasEl){var ctx=canvasEl.getContext("2d"),numberOfParticules=30,pointerX=0,pointerY=0,tap="mousedown",colors=["#FF1461","#18FF92","#5A87FF","#FBF38C"],setCanvasSize=debounce(function(){canvasEl.width=2*window.innerWidth,canvasEl.height=2*window.innerHeight,canvasEl.style.width=window.innerWidth+"px",canvasEl.style.height=window.innerHeight+"px",canvasEl.getContext("2d").scale(2,2)},500),render=anime({duration:1/0,update:function(){ctx.clearRect(0,0,canvasEl.width,canvasEl.height)}});document.addEventListener(tap,function(e){"sidebar"!==e.target.id&&"toggle-sidebar"!==e.target.id&&"A"!==e.target.nodeName&&"IMG"!==e.target.nodeName&&(render.play(),updateCoords(e),animateParticules(pointerX,pointerY))},!1),setCanvasSize(),window.addEventListener("resize",setCanvasSize,!1)}"use strict";function updateCoords(e){pointerX=(e.clientX||e.touches[0].clientX)-canvasEl.getBoundingClientRect().left,pointerY=e.clientY||e.touches[0].clientY-canvasEl.getBoundingClientRect().top}function setParticuleDirection(e){var t=anime.random(0,360)*Math.PI/180,a=anime.random(50,180),n=[-1,1][anime.random(0,1)]*a;return{x:e.x+n*Math.cos(t),y:e.y+n*Math.sin(t)}}function createParticule(e,t){var a={};return a.x=e,a.y=t,a.color=colors[anime.random(0,colors.length-1)],a.radius=anime.random(16,32),a.endPos=setParticuleDirection(a),a.draw=function(){ctx.beginPath(),ctx.arc(a.x,a.y,a.radius,0,2*Math.PI,!0),ctx.fillStyle=a.color,ctx.fill()},a}function createCircle(e,t){var a={};return a.x=e,a.y=t,a.color="#F00",a.radius=0.1,a.alpha=0.5,a.lineWidth=6,a.draw=function(){ctx.globalAlpha=a.alpha,ctx.beginPath(),ctx.arc(a.x,a.y,a.radius,0,2*Math.PI,!0),ctx.lineWidth=a.lineWidth,ctx.strokeStyle=a.color,ctx.stroke(),ctx.globalAlpha=1},a}function renderParticule(e){for(var t=0;t<e.animatables.length;t++){e.animatables[t].target.draw()}}function animateParticules(e,t){for(var a=createCircle(e,t),n=[],i=0;i<numberOfParticules;i++){n.push(createParticule(e,t))}anime.timeline().add({targets:n,x:function(e){return e.endPos.x},y:function(e){return e.endPos.y},radius:0.1,duration:anime.random(1200,1800),easing:"easeOutExpo",update:renderParticule}).add({targets:a,radius:anime.random(80,160),lineWidth:0,alpha:{value:0,easing:"linear",duration:anime.random(600,800)},duration:anime.random(1200,1800),easing:"easeOutExpo",update:renderParticule,offset:0})}function debounce(e,t){var a;return function(){var n=this,i=arguments;clearTimeout(a),a=setTimeout(function(){e.apply(n,i)},t)}}var canvasEl=document.querySelector(".fireworks");if(canvasEl){var ctx=canvasEl.getContext("2d"),numberOfParticules=30,pointerX=0,pointerY=0,tap="mousedown",colors=["#FF1461","#18FF92","#5A87FF","#FBF38C"],setCanvasSize=debounce(function(){canvasEl.width=2*window.innerWidth,canvasEl.height=2*window.innerHeight,canvasEl.style.width=window.innerWidth+"px",canvasEl.style.height=window.innerHeight+"px",canvasEl.getContext("2d").scale(2,2)},500),render=anime({duration:1/0,update:function(){ctx.clearRect(0,0,canvasEl.width,canvasEl.height)}});document.addEventListener(tap,function(e){"sidebar"!==e.target.id&&"toggle-sidebar"!==e.target.id&&"A"!==e.target.nodeName&&"IMG"!==e.target.nodeName&&(render.play(),updateCoords(e),animateParticules(pointerX,pointerY))},!1),setCanvasSize(),window.addEventListener("resize",setCanvasSize,!1)}; |
打开Blog/Hexo/themes/next/layout/_layout.swig,在</body>上面添加如下代码:
1 | {% if theme.fireworks %} |
打开主题配置_config.yml文件,在里面最后添加:
1 | # Fireworks |
添加侧栏友情链接
实现效果图

具体实现方法
编辑主题配置_config.yml文件为:
1 | # Blog rolls |
添加站内搜索
实现效果图
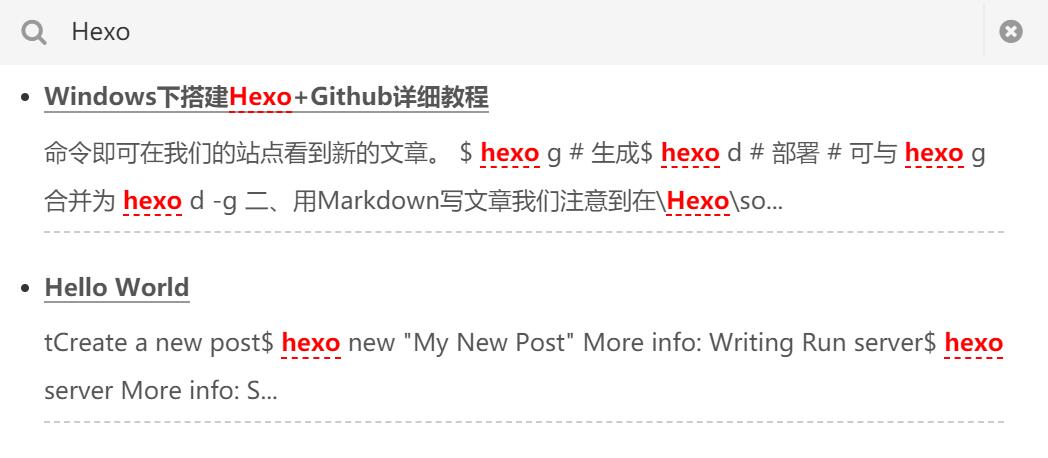
具体实现方法
安装hexo-generator-search
1 | npm install hexo-generator-search --save |
安装hexo-generator-searchdb
1 | npm install hexo-generator-searchdb --save |
编辑主题配置_config.yml文件,设置local_search的enable参数为ture
1 | # Local search |
修改文章链接
实现效果图
具体实现方法
Hexo默认的文章链接形式为domain/year/month/day/postname,当我们把文章源文件名更改之后,链接也会更改,很不友好,并且四级目录,不利于SEO。
因此,使用hexo-abbrlink插件,生成文章永久链接,后期无论怎么修改源文件名,都不会更改该链接。
1 | npm install hexo-abbrlink --save |
配置Blog/_config.yml文件为:
1 | permalink: post/:abbrlink.html |
结语
以上配置仅供参考,如有更好的主题美化方法,欢迎大家相互交流。